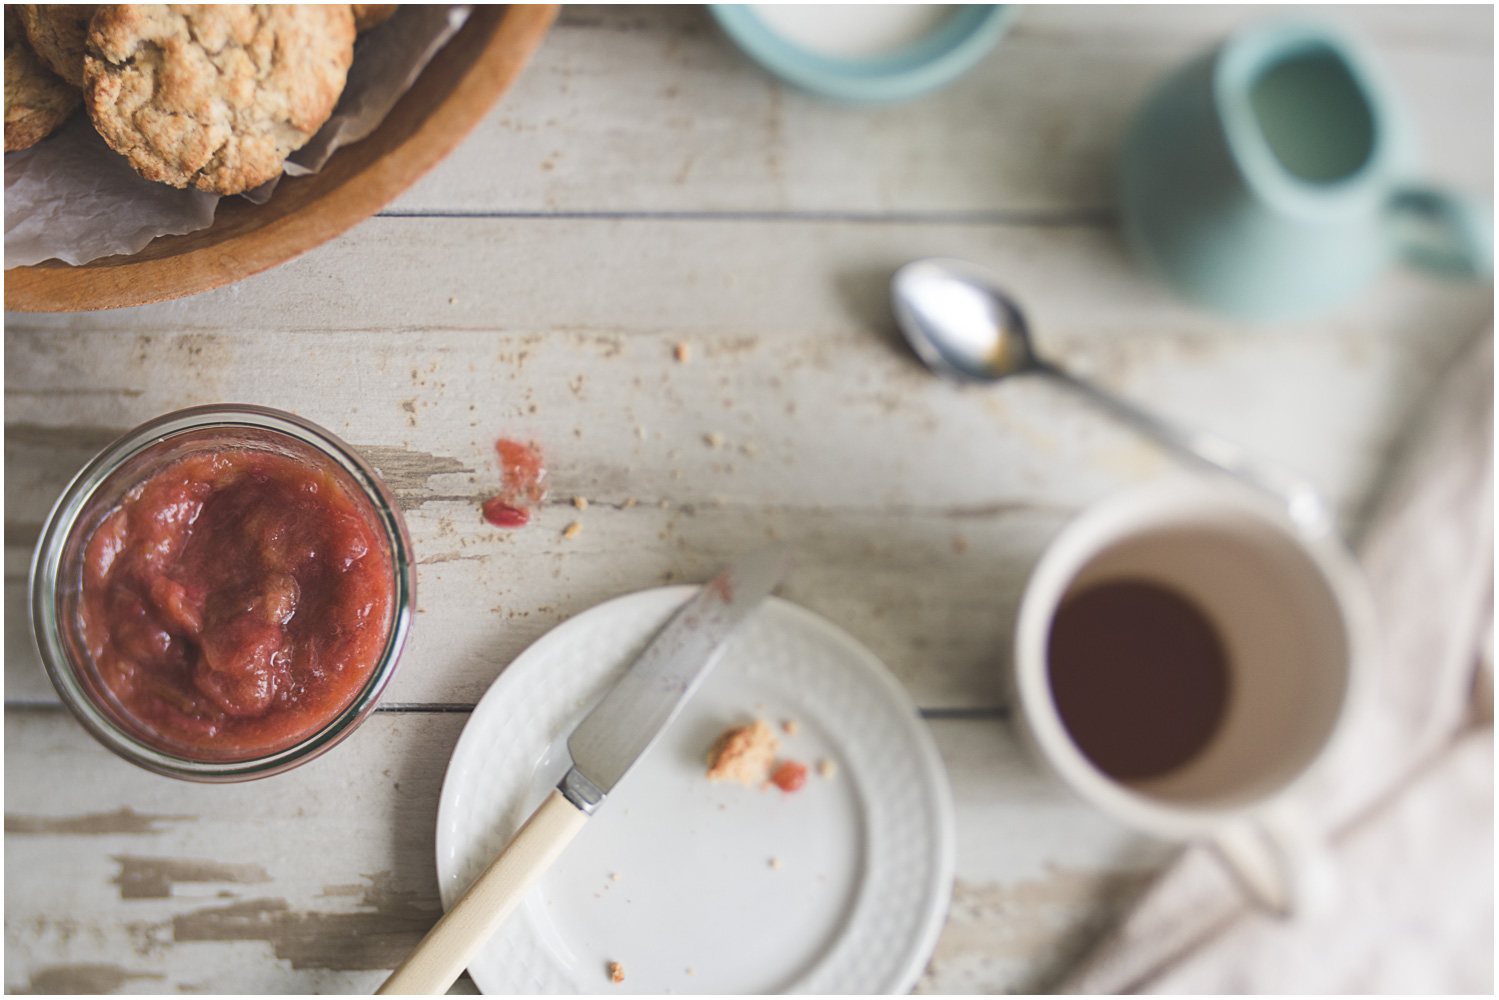
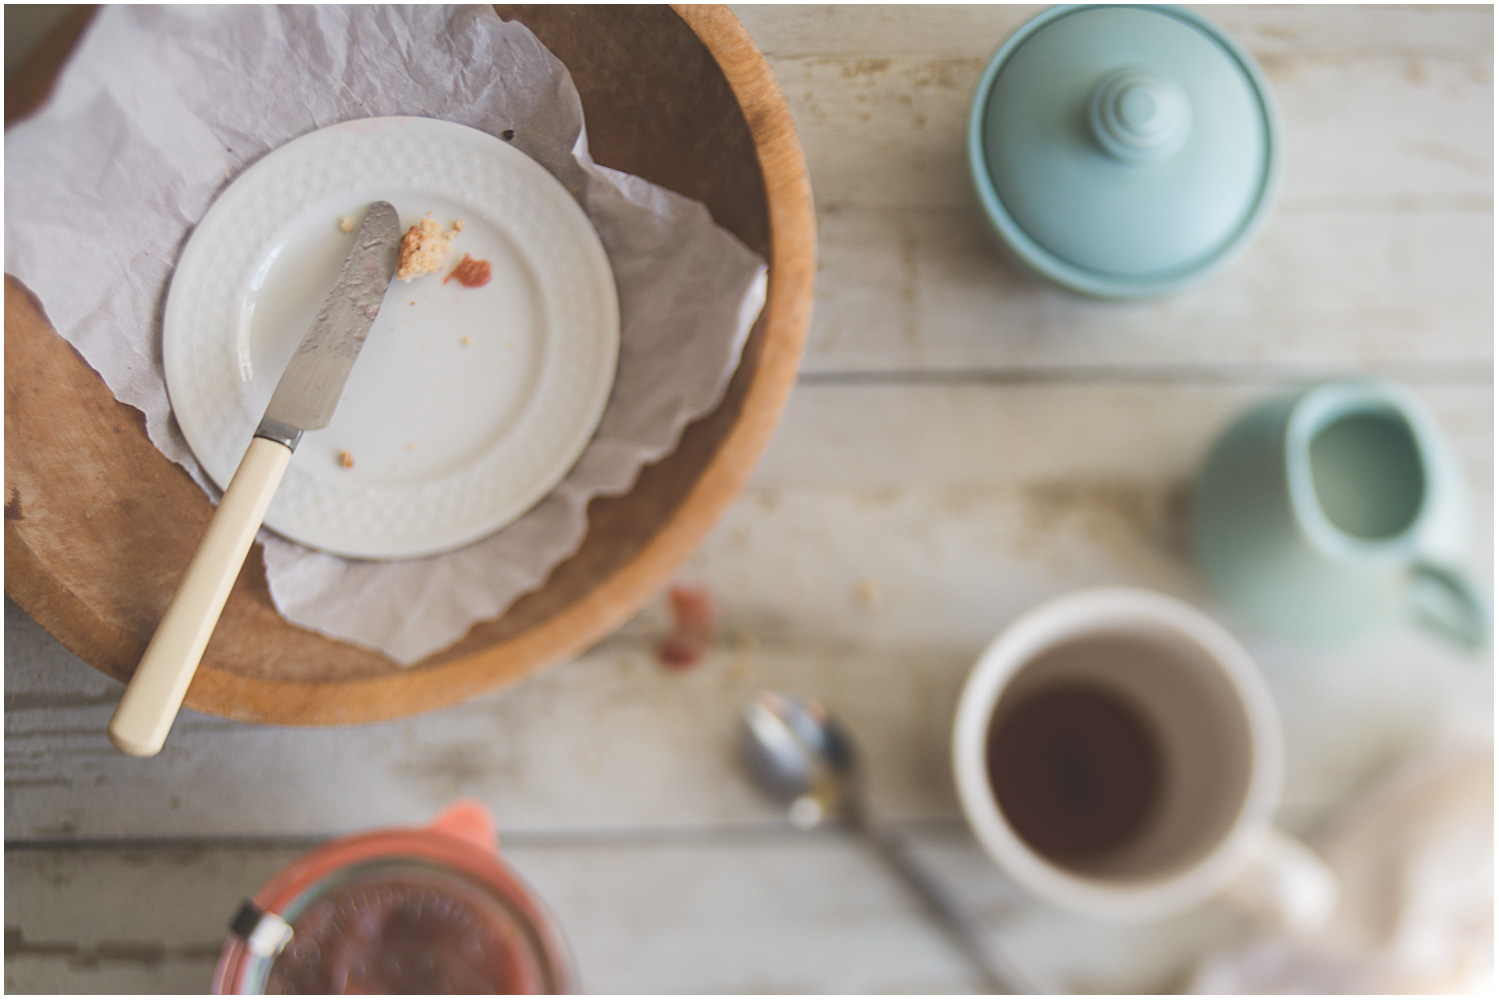
My husband and children prefer cookies to scones. Fortunately, I love to bake cookies. I enjoy the whole process, from making the dough to eating the final product. I like unfussy cookies that are relatively easy to throw together and make me feel like I really have my act together.
Read moreProject - Pussy Willow Wreath
It's April! The birds are singing, the sun is shining, flowers are blooming...not even close. This is April in Maine, which means that it's cloudy, cold, and supposed to snow this afternoon. There is nothing blooming and we still have a significant snow pack. But it's not all doom and gloom, the sun is getting stronger and we are supposed to get into the 50s later this week. Mainers truly appreciate those (relatively) warm days, and I will probably have to work to convince the kids not to wear shorts to school that day. This is the time of year when I feel most impatient and the least like living in the rhythm of the seasons. I want to drink iced coffee, plant the garden, and ditch the sweaters, but it's going to be a while. I'm working to embrace all that is good about this time of year, which is not the mud - so much mud, it's things like seeing the buds on the trees, taking the time to plan a garden, and remembering that soon enough it will warm up and really be spring-like. Then it will be a busy time of planting and soaking up all the outdoor living we can cram into those precious days. For now, patience. And making wreaths out of the available spring-heralding materials: pussy willows. (Drat that name, right?)
Pussy willows are abundant this time of year, starting in late February, until they bloom in a few more weeks. You can usually find this kind of willow tree near swampy or wet areas, and I prefer the branches of older trees, as they usually have more catkins on them. I harvested an armload of the branches, in all their wild glory, and cut them down to make a cheerful wreath.
To make my wabi-sabi little wreath, I started with a grapevine wreath that is approximately 6 inches in diameter. I cut the branches into sections ranging from 6-8 inches long, and chose to pre-wire little bundles of branches and then wire them onto the wreath. The project took about an hour from start to finish, and is now happily handing in the kitchen.
Project Materials:
- 6 inch grapevine wreath
- 65-80 pussy willow branch sections, each 6-8 inches long
- Paper-wrapped floral wire
- Floral wire (I used a very thin and pliable, 26 gauge wire)
Process:
First, make coffee. Not for the wreath, just for enjoyment. Then, trim your willow branches into 6-8 inch sections. Gather the branches into small, fan-shaped bundles with 5-6 branch sections in each, and wire together near the base, using the floral wire, or whatever you have on hand that will do the job. I found the thin wire to be flexible and easy to work with, but strong enough to hold the finished product. Mine is hanging in the kitchen, not exposed to wind, so you may want something stronger if yours will be outdoors. Once you have all the bundles put together - I used 14 bundles in my wreath - begin assembly. Start by laying one bundle on the wreath, and using the paper-wrapped florist wire to secure it to the wreath. I wrapped the first section twice to firmly secure it. Begin layering the wreath by placing the next bundle over the wired section of the first, so it hides the wire, and wrap it in place. Add the next in the same manner, and so on. Some of your bundles may be fluffier and fuller than others, so try to alternate those. Keep taking a look at the whole picture so you don't end up with sections that are packed too densely. (That's a "do as I say, not as I do" piece of advice. I have one section that I wired too tightly with too-thin bundles and I don't recommend it. Live and learn.)
After you've secured all the willow bundles to the wreath, snip your wire, leaving a 3-4 inch tail to twist into a hanging and loop and secure the end into the wreath. Look at the wreath and fluff and adjust the bundles to even it out. You can tuck in extra single branches if you have any particularly bare spots. The wreath is done and ready to be enjoyed. I recommend hanging it somewhere where it won't get bumped and jostled too much, as some of the catkins may fall off.
Let me know how it goes if you try it, or if you have any questions.
Enjoy!
-KB
Still Life Series - March Botanicals
Still life photography has become a passion of mine. It has become one of my favorite ways to embrace and enjoy the present season - creating still life images that reflect the light, the mood, the atmosphere, and the natural abundance of any given time of year. It helps me to slow down and notice what's happening outside in ways that I never used to, to get in sync with the rhythms of nature. It gives me a feeling of connectedness. It also requires a ridiculous amount of patience, which has never been one of my virtues, but I'm working on it. I'm usually rushing ahead to the next season without fully appreciating what's right in front of me. I can't say that will stop - I look forward to each different season - but I can say that it forces me to be more intentional and appreciate each season as it's unfolding.
Creating a photo series using the abundance (or lack thereof, in some of the transitional seasons) also allows me to hone my craft and push my creativity by making a series of photos with the same set of materials. I've been doing this in a less intentional way for a while, but now I'm making an effort to document it here.
March is a terrible time to start something like this (if you live in a cold climate, that is) but here we are. I figure starting with a total lack of abundance is a good way to force you to be more creative. (For the record, that's the kind of advice that makes me want to roll my eyes, but I think there really is something to it.) I snagged some dried hydrangeas, which I have probably looked at a thousand times with no appreciation for them whatsoever, from my mother-in-law's house, to start with. Then I added some pussy willows that I spotted on a walk. Over the course of the last couple weeks, I've put together this little series to document the March botanicals.
I ended up enjoying photographing the hydrangeas and pussy willows much more than I expected. I'm trying to be patient for spring flowers, but I'm making no promises. If you follow my Instagram, you know I've already caved and bought some hyacinths. :)
Enjoy the season!
-KB
Spiced Scones with Maple Cream
My husband and children prefer cookies to scones. Fortunately, I love to bake cookies. I enjoy the whole process, from making the dough to eating the final product. I like unfussy cookies that are relatively easy to throw together and make me feel like I really have my act together.
Read moreValentine's Day Chocolate Truffles
Happy Valentine's Day! We don't usually make a big fuss over Valentine's Day, but it's always fun to make something with the kids to share with their friends and teachers. It was convenient that we were snowed in yesterday, thanks to the blizzard that left us 2 feet of snow, and so we had the day to make Valentine's and chocolate truffles.
To make the truffles:
- 1 pound bitter or semisweet chocolate, chopped
- 1 c. heavy cream
- 1 tsp. vanilla
- 8 oz. bittersweet or semisweet chocolate, chopped, set aside
- 2 oz. white chocolate, optional, for drizzling on top
Chop the pound of chocolate and place in a heatproof bowl. Heat the cream to a simmer and pour over the chocolate. Let it sit for a couple of minutes so the chocolate can warm up, then gently whisk until it becomes smooth and shiny. Whisk in the vanilla or any other flavor you like. Place the mixture in the fridge for about 20 minutes. When it is firm, scoop the mixture into individual portions using two spoons or a small cookie scoop, and place onto a parchment-lined cookie sheet. If the portions are firm enough, roll into smooth balls now. If not, place them back in the fridge for 10 minutes until you can handle them. Once you have them all rolled into balls, place in the fridge to firm up, about an hour.
After they are firm and chilled, melt your additional bittersweet or semisweet chocolate. I do this in a glass bowl in the microwave, on high, for 15 second intervals, stirring in between, until the chocolate is smooth. Then, using a fork, dip each truffle into the melted chocolate, tap off the excess, and place on a parchment-lined cookie sheet. When all the truffles have been dipped, return to the fridge until set, about 20 minutes. Melt the white chocolate and using a fork or spoon, gently drizzle over the top of the truffles.
The truffles will keep in an airtight container for 3 days, a week if you put them in the fridge.
Enjoy!
-KB
January Hygge
Winter. Here in Maine, it's cold and gray, sometimes with snow, sometimes bright, sometimes downright bleak. And I love everything about it. Despite the fact that I hate to be cold, I enjoy being outside in the bracing January air. Even more, I like coming in from the cold and cozying up inside with a hot drink.
I always feel some melancholy when the Christmas holiday season ends, because I love it so much. But now I have come to appreciate the quiet period that follows. I enjoy the easing of the hustle and bustle from the holiday season and settling into a long, cold winter. Coziness is where it's at for me, on any given day, but especially these gray winter days. I don't even mind that it gets dark early. For me it seems like a good excuse to be home and in my comfortable sweats earlier than is normally acceptable.
I'm committed to embracing winter, as I think one needs to be, here in the frozen north, where we won't see spring until May. I'm wholeheartedly embracing the concept of hygge by spending time outdoors with the family, and enjoying the time inside with crafting, baking, reading, and generally slowing down. I may even go watch a movie with the kids, in the middle of the afternoon on a Tuesday, because it's a snow day and I intend to take full advantage of it.
I'd love to hear what you are doing to embrace and enjoy the winter. Hope you are finding some hygge too!
Enjoy!
-KB
Wreath Making
Happy Holidays!
Making evergreen wreaths for the holidays is a long-standing tradition this time of year. It's one that I had always wanted to make a part of my life, but never seemed to get around to it. I thought it would be difficult, and when I first tried it nearly 20 years ago, I thought it was. But last year, after a fun adventure into the woods hunting for Christmas trees, my aunt sat down with me and showed me how it's done. She has such an easy air about her - she's not a perfectionist so I didn't feel like she was judging me the whole time, and at no point did I feel overly embarrassed by my ignorance of the whole wreath-making process. She made it fun and approachable and I learned to embrace the imperfection of the wreaths I made.
This year I felt sufficiently confident to undertake wreath-making on my own. I used the boughs we cut from our own Christmas tree, clipping them into small tips that I could easily wire to the wreath. I used a simple metal form and some flexible but strong wire to assemble it. I placed the tips in groups of threes and wired them tightly to the form. At first, the wreath looked a little hopeless, but as I kept adding more greens, it started to shape up. It's far from perfect, but I'm happy with it. I topped mine off with some cedar and boxwood clippings, and burlap for hanging.
What do you think? Any wreath-making happening in your household?
Wishing you all a quiet and joyful holiday season.
Enjoy!
-KB
Soft Gingerbread Cookies
It's that time of year again. My favorite time of year. I love everything about the season. I just want to soak it all up. The one big exception is having to go out and do some shopping, which I will begin at any moment now. For now, I am enjoying the music, the sights, making a wreath or two, and baking.
My baking list is very long, only because there are always so many recipes that I want to try this time of year. This classic recipe is top of the list, and is an old family favorite. It comes to us from my great-grandmother is named "Gram's Molasses Cookies". I have made very few changes to the original recipe, only adjusting the method a bit and adopting my mother's adjustment, which was to add more flour.
The cookies are soft and will stay that way for several days. The original recipe does not use much in the way of spices, which is why they are molasses cookies as opposed to gingerbread cookies. They are a year-round favorite of mine, made with no spices and just the flavor of the molasses shining through. But for Christmas, I added the spices I associate with the season - ginger, cloves, cinnamon, cardamom, and pepper - and turned them into gingerbread men. They will stay soft if you make them thick and avoid overbaking, and store in an airtight container. I iced my men with a basic royal icing.
Soft Gingerbread Cookies (Gram's Molasses Cookies)
- 1 c. sugar
- 1 c. shortening
- 1 c. molasses
- 1 egg
- 1/2 c. hot water
- 1 tsp. vanilla
- 1 tsp. lemon juice
- 6 c. flour
- 4 tsp. baking soda
- 1 tsp. salt
- 1 tsp. ginger *
- 1 tsp. cinnamon *
- 1 tsp. cardamom *
- 1/2 tsp. cloves *
- 1/4 tsp. ground black pepper *
Preheat oven to 350 degrees.
Using a stand mixer or strong arms and a wooden spoon, beat together the sugar and shortening. Add molasses, egg, water, vanilla and lemon juice and mix well. Don't worry if the mixture looks a bit curdled at this point, it will smooth out again when you add the flour. Add 3 c. flour, the baking soda, salt and the spices, if you choose to include them. Mix together slowly until well-combined. Continue adding the flour, one cup at a time, until you have a dough that is soft but not sticky, like fresh play dough. Roll out onto a lightly floured surface to about 1/4 inch thickness and cut into desired shapes. Place on parchment or nonstick baking mat, and bake for 10-12 minutes, keeping an eye on them at the 10 min mark. They should be cooked through but still soft and just starting to turn a more golden color.
Ice with royal icing, if you wish, or enjoy them unadorned. Store in an airtight container for several days.
Enjoy!
-KB
Pear Caramel Cakes
November, with it's inherent quietness, has become one of my favorite months. The hustle and bustle of the holidays hasn't started yet, and the grayness of the month means I don't feel any guilt about baking comfort foods with abandon. Though I've been secretly celebrating the holiday season since the beginning of the month, with it's chocolate, peppermint, and gingerbread flavors, I haven't turned my back on some of the richness of fall fruits and spices just yet.
This recipe for Caramel Pear Pudding Cakes appeared in the fall issue of Sift magazine, published by King Arthur Flour, and is the perfect antidote to a gray day. The cakes are relatively easy to assemble and bake up into a warm and gently spiced cake with a gooey caramel sauce.
Recipe can be found here. Cook's note - I left out the pecans, only because I rarely like any kind of nut in my baked goods. Also, I didn't arrange mine like they show in their picture. I served them straight from the ramekin, as appears above, rather than turning them out to serve.
Enjoy!
-KB
Happy Halloween!
Tomorrow is Halloween. I'm not crazy about gore or scary decorations, but I enjoy the generally festive atmosphere of the day. I like making caramel popcorn to share, roasting the pumpkin seeds from our jack o' lanterns, and making treat bags. I like taking our kids out trick-or-treating in the village and seeing all the kids in costumes. It's a fun day and I find that keeping it simple lets me enjoy it more.
Wishing you a Happy Halloween!
Enjoy!
-KB
Apple Blackberry Muffins
Autumn is really and truly upon us. It's one of my favorite times of the year. The leaves are at peak color now, the days are bright but comfortably cool, pumpkin spice is everywhere, and apples are abundant.
This particular day was one of those glorious fall mornings that started off chilly, with a low fog hanging over everything, and eventually burned off and gave way to bright sun. It was a perfect morning for baking something warm and comforting, and these apple blackberry muffins were just the thing. Blackberries are still going strong, as there hasn't been a hard frost yet here, and of course the apples are in their prime.
The recipe for these muffins comes from Sally's Baking Addiction and can be found here.
Note: I used a Macintosh apple for baking. The apples pictured were lovely and fun to photograph, but gross to eat.
Ingredients:
- 1 1/2 c. all-purpose flour
- 1 1/2 c. whole wheat flour
- 2 tsp. cinnamon
- 3 1/2 tsp. baking powder
- 1/4 tsp. baking soda
- 1/2 tsp. salt
- 1/2 c. plain or vanilla yogurt
- 1/2 c. oil
- 3/4 c. packed dark brown sugar
- 2 large eggs
- 2 tsp. vanilla
- 1 c. milk
- 1 large apple, peeled and diced (about 1 cup)
- 1 c. chopped blackberries (fresh or frozen)
Directions:
Preheat oven to 400 degrees and prepare a 12-cup muffin tin with paper liners.
In a large bowl, mix together all of the dry ingredients, including flours, cinnamon, baking powder, baking soda and salt. Set aside. In a separate bowl, mix together the yogurt, oil, brown sugar, eggs, vanilla and milk. Stir the wet mixture into the dry ingredients until just combined. Stir in the chopped apples and blackberries. Fill the muffin cups to the top and sprinkle with the oat streusel, recipe below.
Oat Streusel
- 3 Tbsp. dark brown sugar
- 3 Tbsp. rolled oats
- 1/2 tsp. cinnamon
Stir together the sugar, oats, and cinnamon in a small bowl. Sprinkle onto the tops of the muffins before baking.
Bake for 13-15 min, until a toothpick inserted into a muffin comes out clean. Remove from the muffin tin immediately. Enjoy them right away or for up to several days, if stored in an airtight container.
Enjoy!
-KB
No-Bake Cheesecake with Blueberries
Hello, there. I hope you have been having as wonderful a summer as I have been having. It has been sunny, warm, and abundant in so many ways. This past month, the farmer's markets have been filled with wild Maine blueberries, which are a pain to pick, but perfect for baking and snacking. In this case, perfect for topping a cheesecake that didn't require me to turn on the oven.
This cheesecake originally comes from a Nigella Lawson recipe, though I have adapted the measurements to suit my tastes and to fit the springform pan that I have. This recipe makes a light and creamy cheesecake that is easy to put together and is wildly forgiving. You really don't need to fuss over the measurements, just throw it all together. If you taste the filling before it has set, you may find the flavor to be a bit too light or bland. Don't worry, after it rests and firms up in the fridge, the flavors will come together and strengthen into a more traditional cheesecake flavor.
Ingredients:
- 11-12 whole graham crackers
- 1/4 tsp. salt
- 1/4 c. sugar
- 6 Tbsp. melted unsalted butter
- 1 1/4 c. heavy cream
- 12 oz. softened cream cheese
- 3/4 c. confectioner's sugar
- 1 1/2 tsp. vanilla
- 1 tsp. lemon juice
- 9 inch springform pan
Instructions:
To make the crust, pulverize the graham crackers into a fine crumb. You can put them into a food processor or do what I do, which is to put them in a sealed plastic bag and hit them with a rolling pin. Pour the crumbs into a medium bowl with the salt, sugar, and melted butter. Stir together until all crumbs are moistened. You shouldn't have any trouble with the crust sticking to the pan when the cake is done, but that said, if I'm making it for company, I line the bottom of the pan with parchment to ensure the crust doesn't stick when I'm ready to remove it. Press the crumbs into the springform pan evenly to form a base for the cheesecake. I build up the sides about an inch. Put the crust in the fridge to set up while you make the filling.
Whip the heavy cream until you get slightly stiff peaks. You don't need it so stiff that it won't blend with the remaining ingredients, but not so soft that it won't give the cake some structure. Set that aside while you blend the rest of the filling ingredients. Combine the softened cream cheese, confectioner's sugar, vanilla and lemon juice and beat until well combined and very soft. Gently fold in the whipped cream. For best results, fold in the whipped cream 1/3 at a time. Pour your filling into the set crust and chill for at least 2 hours or overnight. To serve, run a knife around the edge of the pan before separating the sides from the base. Gently remove the sides, top as you please, and slice to serve.
Enjoy!
- KB
June Flora
The natural beauty of this area continues to surprise and inspire me. There is a timelessness in it that speaks to my modern sensibilities but also recalls times past, when the area was inhabited by sea captains and tall ships were a regular sight going up and down the river.
Despite having grown up in rural Maine, the beauty of summer feels all new to me. Maybe because I didn't really see then the way I do now, and maybe because years of living just outside Boston has given me a new appreciation for country living and the simple pleasure of seeing the roadside filled with wildflowers. Throughout the month of June, there was lupine everywhere I looked. It made the mundane, like running errands, that much more palatable because the drive itself was so beautiful.
Then came the bloom of the peonies. Though I don't have any of my own, my dear friend let me take some of her abundant and beautiful blooms. I wish they could last summer, but their short season makes them all the more special. I intend to plant some this fall in hopes that I might have some of my own next summer.
I have thoroughly enjoyed the flora of the season and look forward to the next wave of seasonal blooms. I hope early summer has been enjoyable for you, too!
Enjoy! - KB
Fresh Strawberry Pie
Every year when the local strawberries come into season, I am reminded of just how flavorful and sweet locally grown berries can be. There is just nothing like it. We wait a long time up in the frozen north for berry season but it is well worth the wait. Our strawberry season is usually late June through early- to mid-July. The berries have a short shelf-life once picked, but it is not difficult to use up a quantity of berries in a hurry. They are so good, and good for you, eaten fresh and unadulterated, but once I've consumed my fair share, I like to use the rest to make sweet treats. Locally grown berries are unparalleled for classic strawberry shortcakes, jam, and this strawberry glace' pie. (The berries pictured are from Stevenson's Strawberries in Wayne, Maine, where I am very fortunate to have an in.)
This pie was my favorite strawberry treat when I was a kid. My mom would always make it for us after she did her serious picking session, bringing home enough berries to make copious amounts of jam, shortcakes, and pie. I have never especially cared for the texture of strawberries once they are baked, so this pie always worked for me because you do not bake the berries. You do mash some up to make the filling, but since they are cooked completely down and turned into a jam/jelly-like substance, the texture is not an issue. You are left with fresh, whole berries and a strawberry jelly to hold it all together.
Recipe -
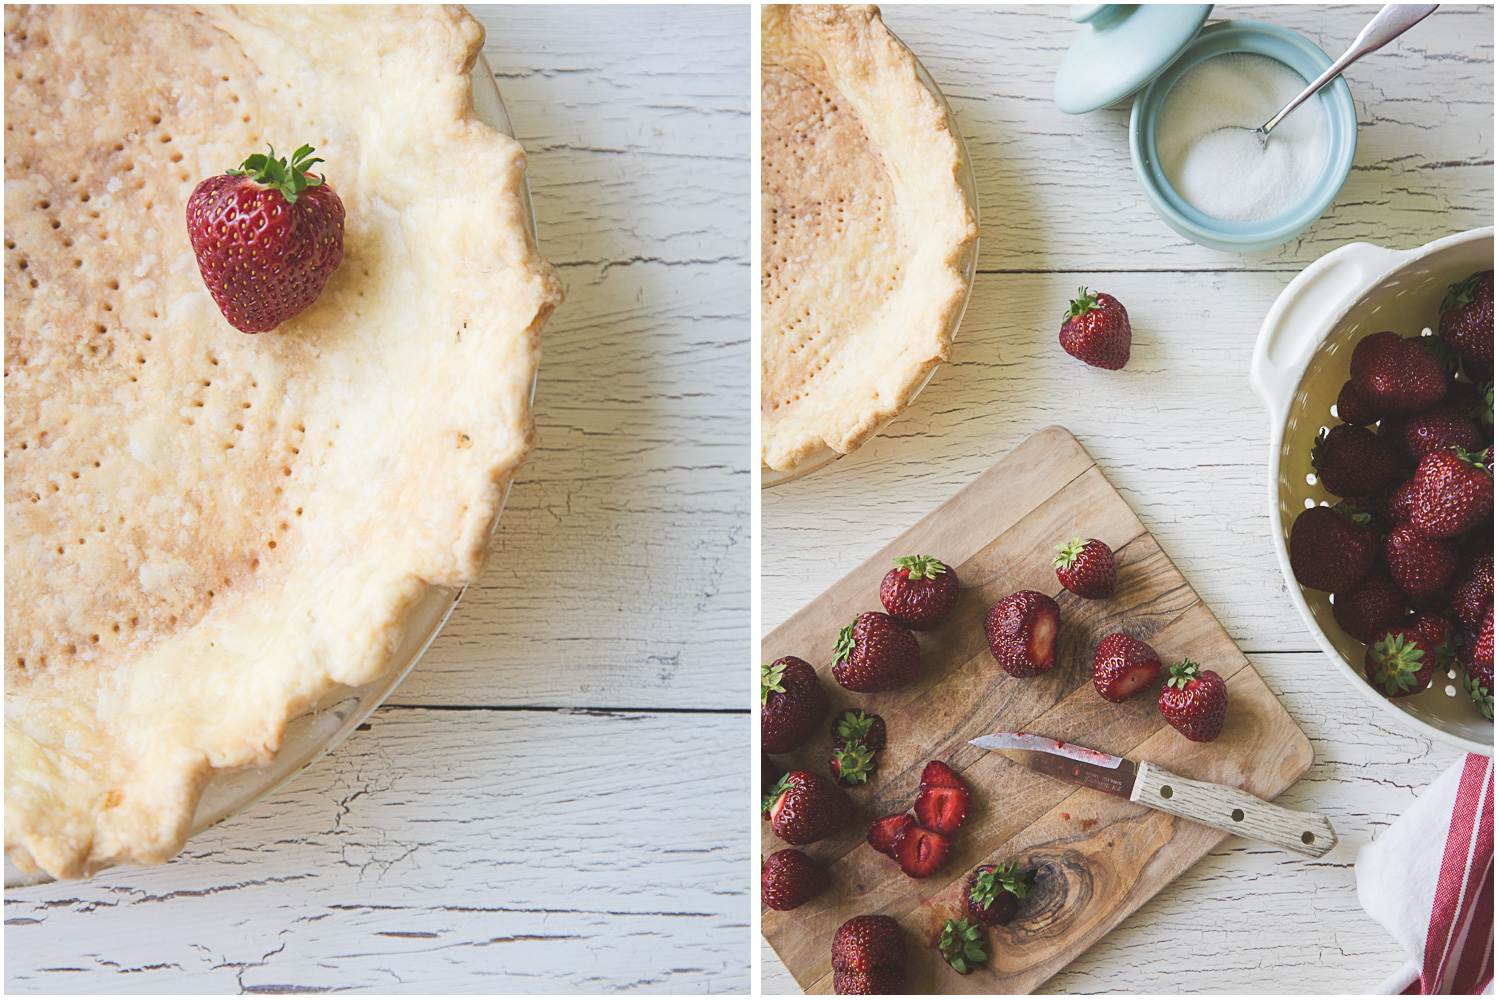
The filling recipe is from Betty Crocker. My pie shell was a bit of a disaster, so I will spare you that recipe for now. You can use any pastry crust you like for the shell. I think next time I make this pie, I will add a little lemon or lime to the filling, just to add a little flavor boost.
Filling:
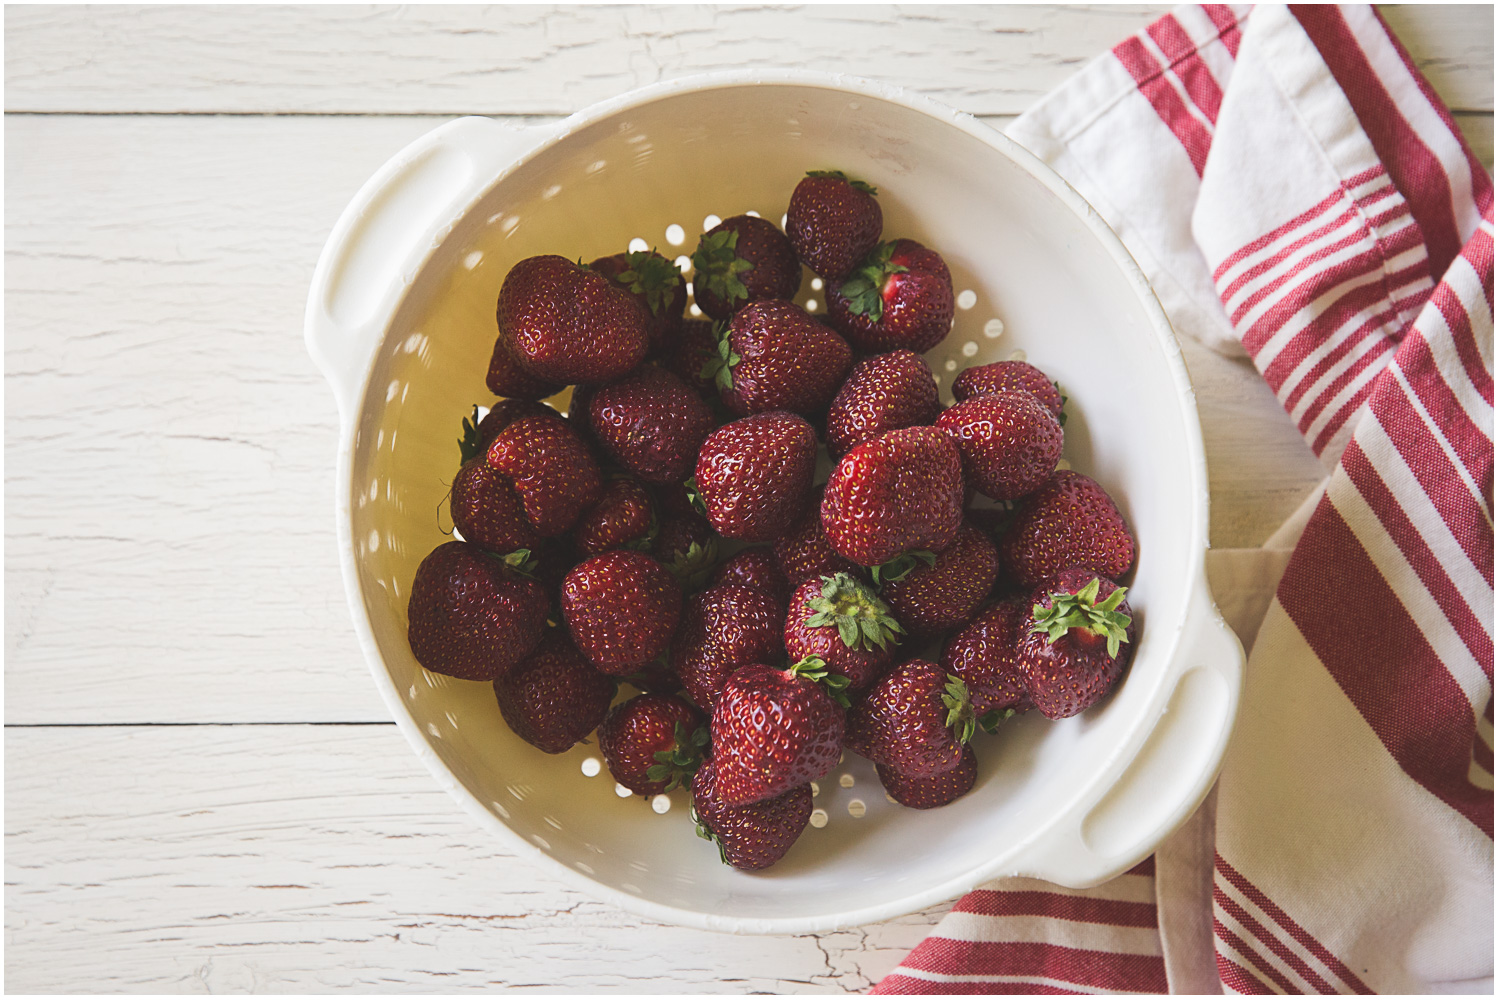
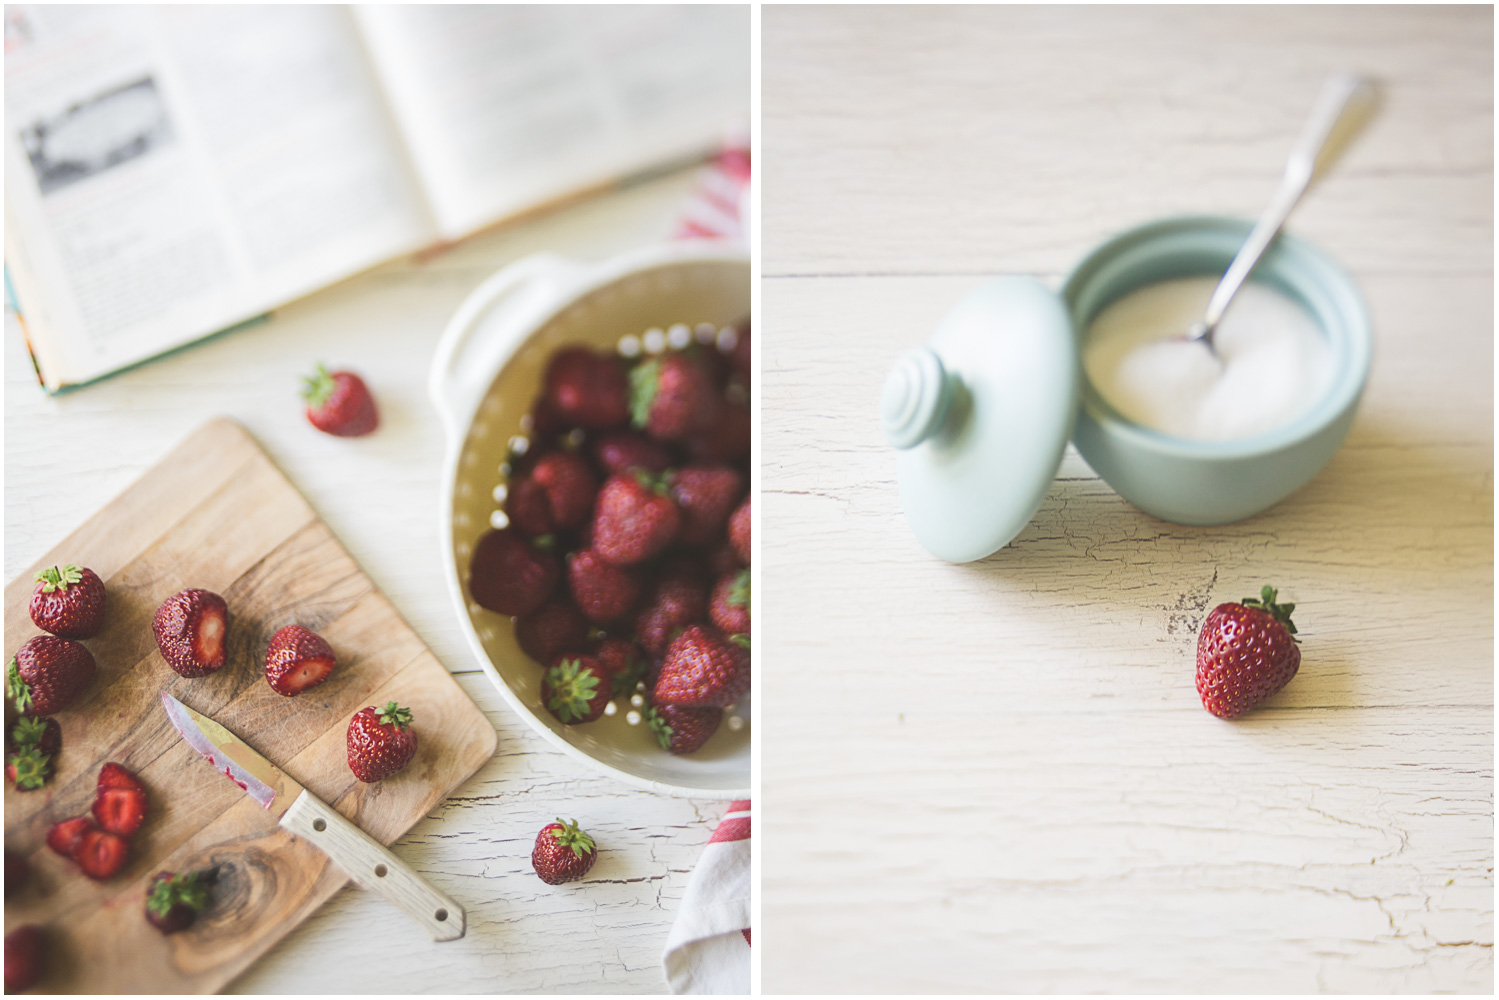
- 1 quart fresh strawberries
- 1 c. water
- 1 c. sugar
- 3 Tbsp. cornstarch
- 3 oz. cream cheese, softened
Rinse the berries, dry, and cut off the stems. Put about 1 cup of the berries in a saucepan with 2/3 c. water and bring to a simmer. Let simmer for 3-5 minutes, until the berries get soft and start breaking down. Meanwhile, mix together the sugar, cornstarch, and remaining 1/3 c. water in a small bowl. Add to the strawberry mixture and bring to boil. Boil for 1-2 minutes, until thickened, stirring constantly. Remove from heat and let cool completely. You don't want to put a hot mixture on top of your fresh berries, but don't let it set longer than necessary or it will firm up too much to spread nicely.
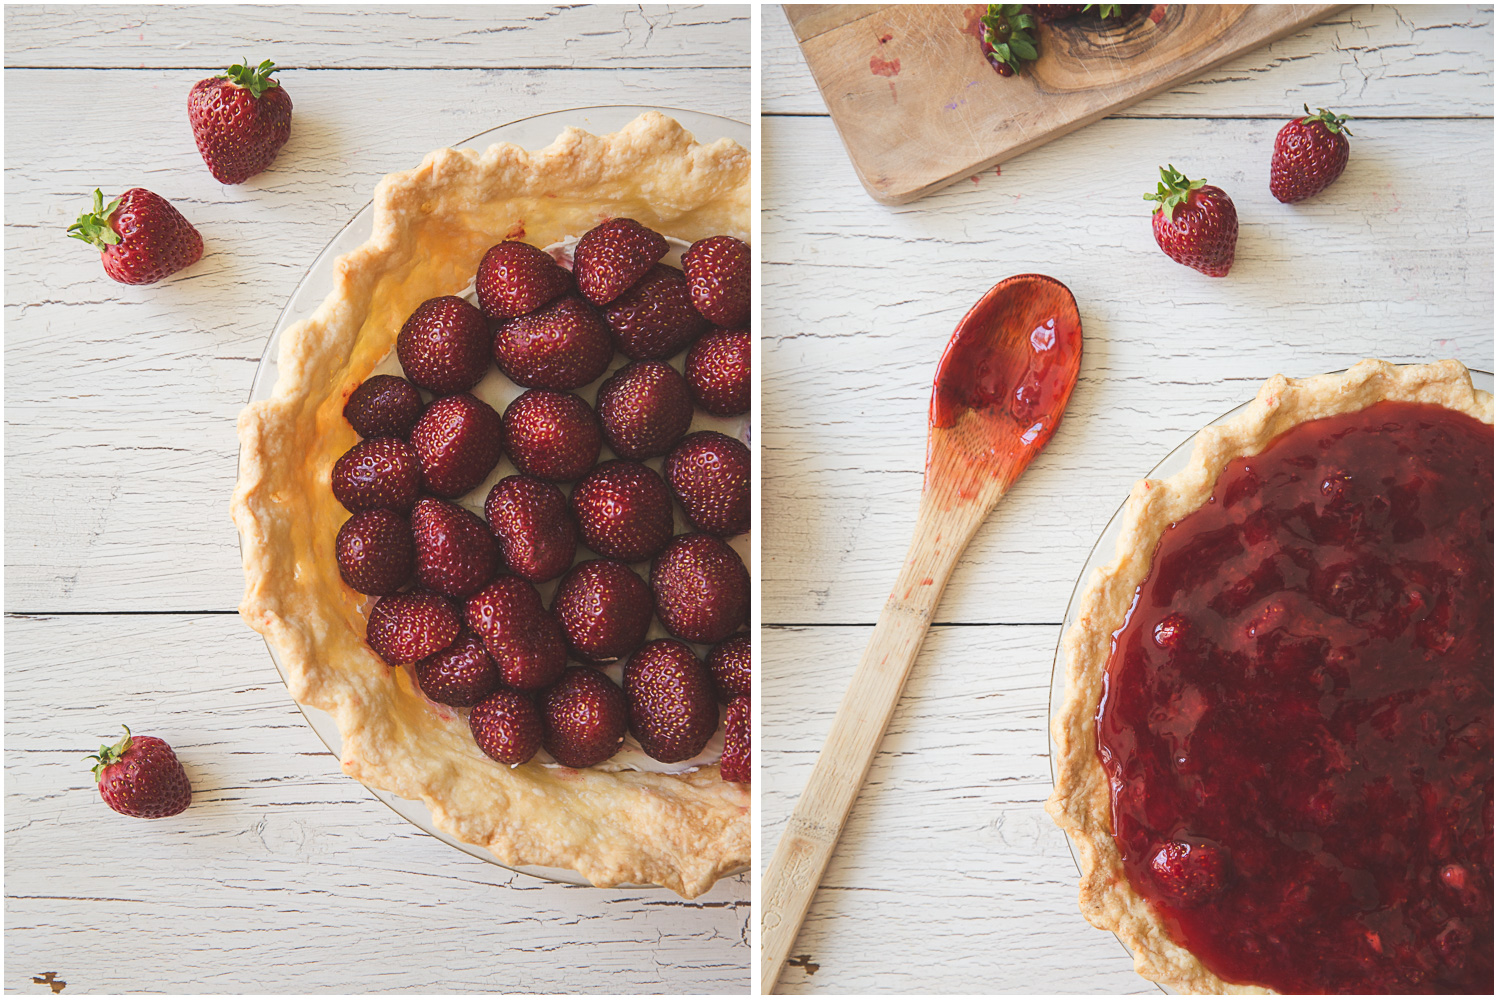
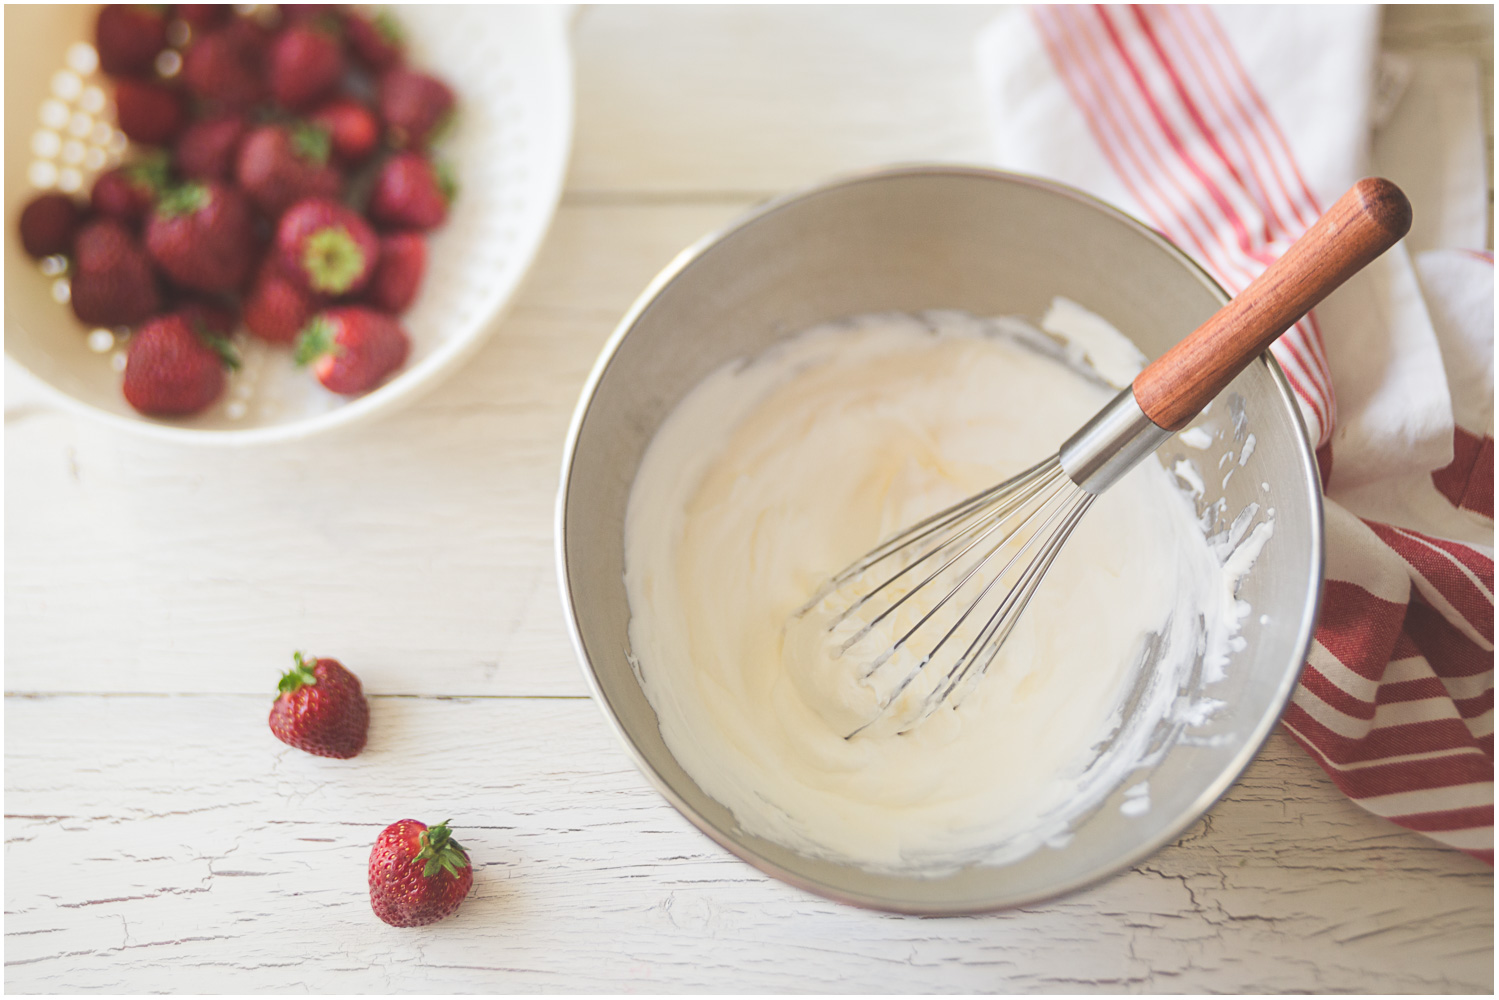
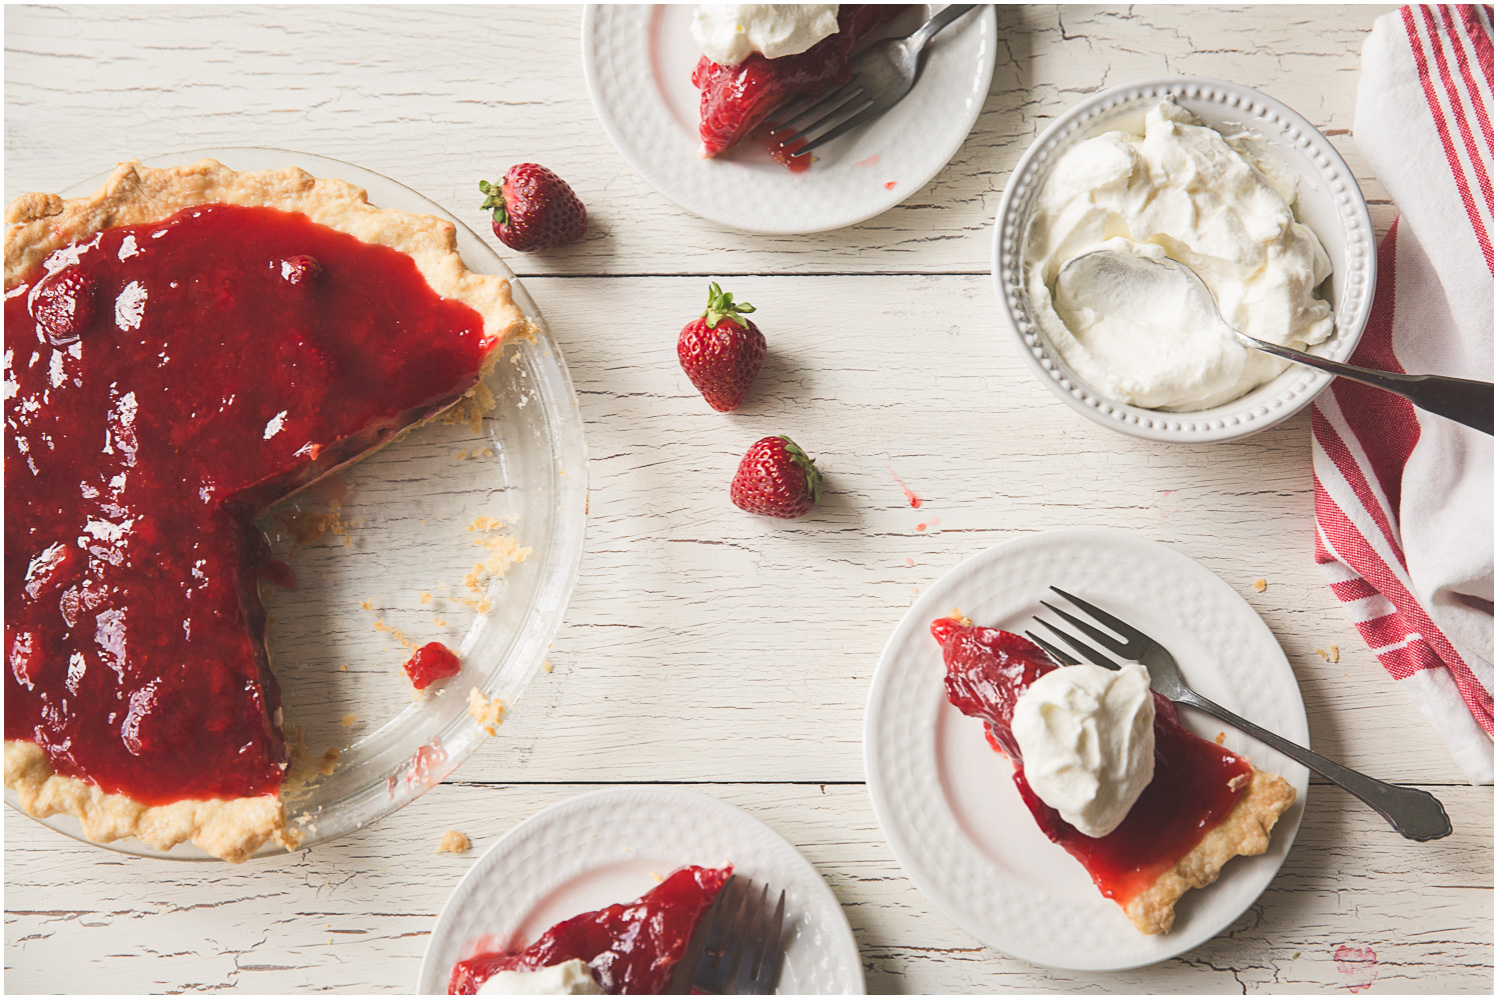
Spread the softened cream cheese over the bottom of the pie shell. It creates a tasty barrier between the pie crust and the filling so that you don't end up with a soggy crust. Then place the whole berries, cutting in half as needed to fit, into the pie. I make a reasonable effort to make this part look nice, meaning that I will cut down an overly large berry to make it fit in better with the others. I will also halve berries to fill in the gaps. You may have berries leftover that you can use as a garnish later.
Pour your cooled filling mixture over the top. Spread evenly and then chill for at least 2 hours, but more if you can spare the time. If it chills properly, it will hold it's shape once cut. I only chilled for 2 hours for these photos and the pie could really have used more time to firm up. Top with freshly whipped cream and any leftover strawberries to serve.
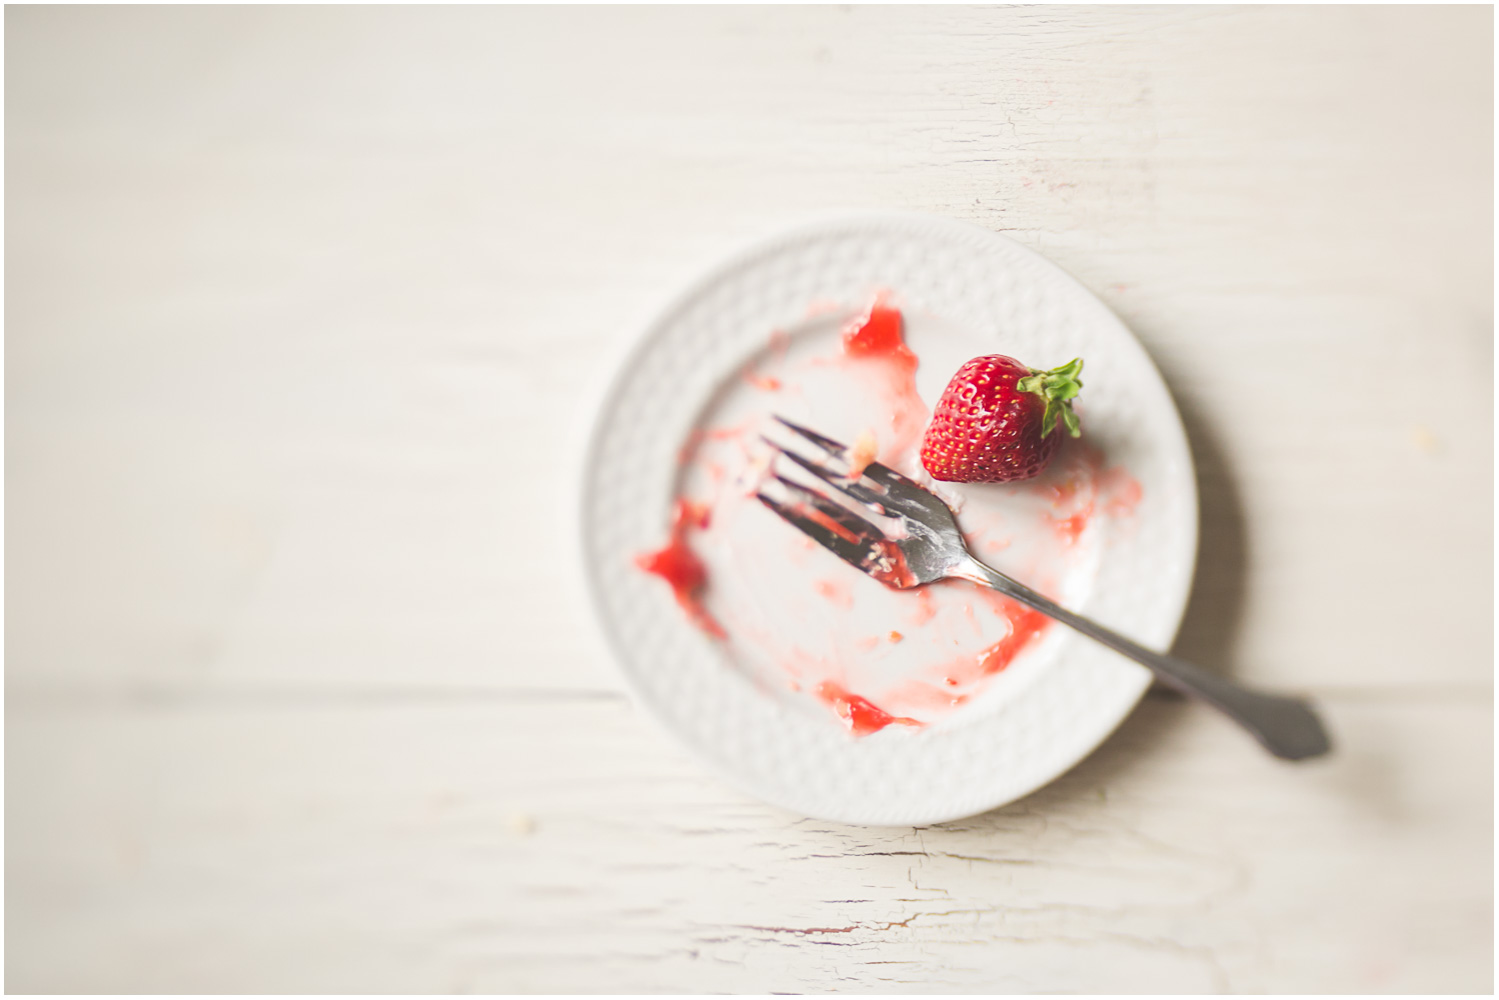
Enjoy! - KB
Roasted Rhubarb Jam
Early summer in Maine is a time to be savored. The lilacs have run their course, the lupine is blooming all along the roadside, and rhubarb patches are springing up everywhere. Rhubarb is one of the first fresh fruits of the season here. (Technically a vegetable, but we generally treat it like a fruit.) Rhubarb pairs beautifully with many fruits, but it is wonderful on it's own. It is tart and tough to start with, so it requires cooking to break down the fibers and a good amount of sugar to make it taste good. Jam is an excellent way to enjoy the tartness of rhubarb and making this roasted jam couldn't be simpler.
This recipe comes from Jennifer Perillo's book Homemade with Love, and I wish I had found it a long time ago. You simply cut the rhubarb stalks into chunks, sprinkle on sugar, and roast for about 20 minutes. The high temperature breaks the rhubarb down and a quick stir mashes the fruit and brings it all together into a simple jam. This version will last in a sealed container in the refrigerator for about 2 weeks. I highly recommend it on toast or scones, especially if the scones are slightly sweet, like Brown Sugar Scones.
Ingredients:
- 1 pound rhubarb, stalks only, cut into relatively even chunks
- 1/2 cup sugar (you may want a little bit more if your rhubarb is exceptionally tart)
- The original recipe calls for 1/4 tsp. cinnamon, but I leave it out
Heat the oven to 400 degrees. In a 9x13 baking dish, toss together the rhubarb and sugar. Bake for 20 minutes and check. It should be bubbly and the rhubarb should mash easily with a spoon. You may need an additional 5 or so minutes if your rhubarb is particularly tough. Remove from the oven and allow to cool completely. Give it a stir to mash up the rhubarb and fully combine with the sugar. Transfer to an airtight container and keep refrigerated. It will keep for about 2 weeks, if you don't eat it first. Recipe makes about 1 cup of jam.
Enjoy! - KB