• Free Resources
  • About
  • Gallery
  • Styled Life Retreat
  • Blog
Menu

Kate Bragg

Street Address
City, State, Zip
Phone Number
Photography | Styling | Seasonal Living

Your Custom Text Here

Kate Bragg

  • Free Resources
  • About
  • Gallery
  • Styled Life Retreat
  • Blog
Bragg_Kate_Photographing_Summer-0134.jpg

Blog

Favorite seasonal recipes, projects, and some photography advice and inspiration.

Brown Sugar Scones on a Rainy Morning

April 7, 2016 Kate Bragg

Rainy morning with brown sugar scones

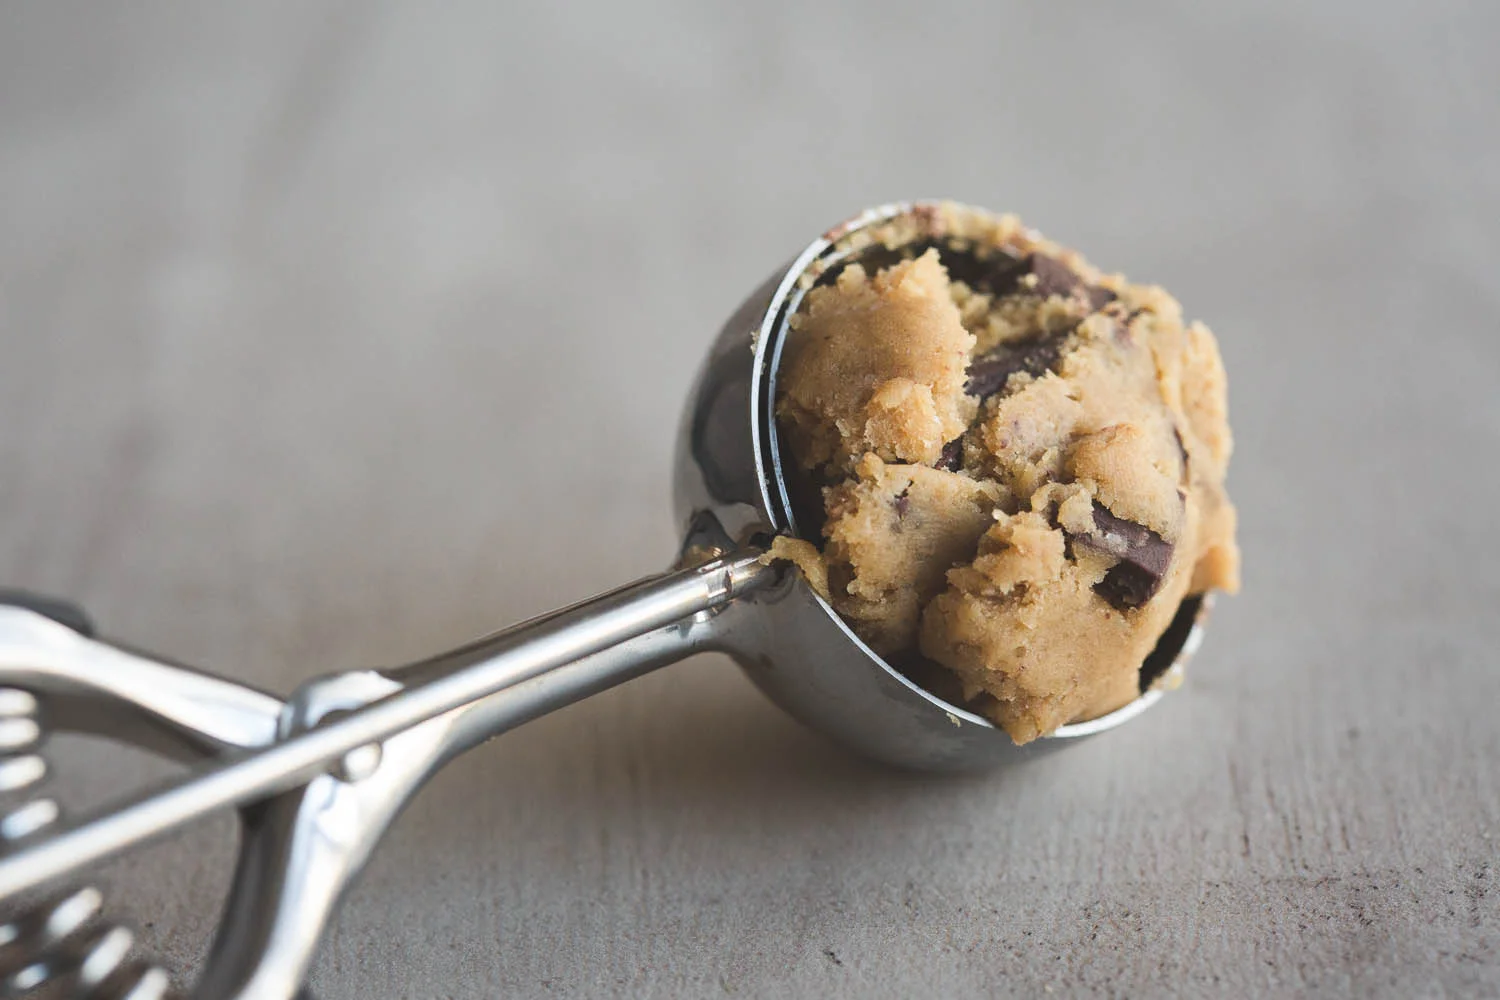
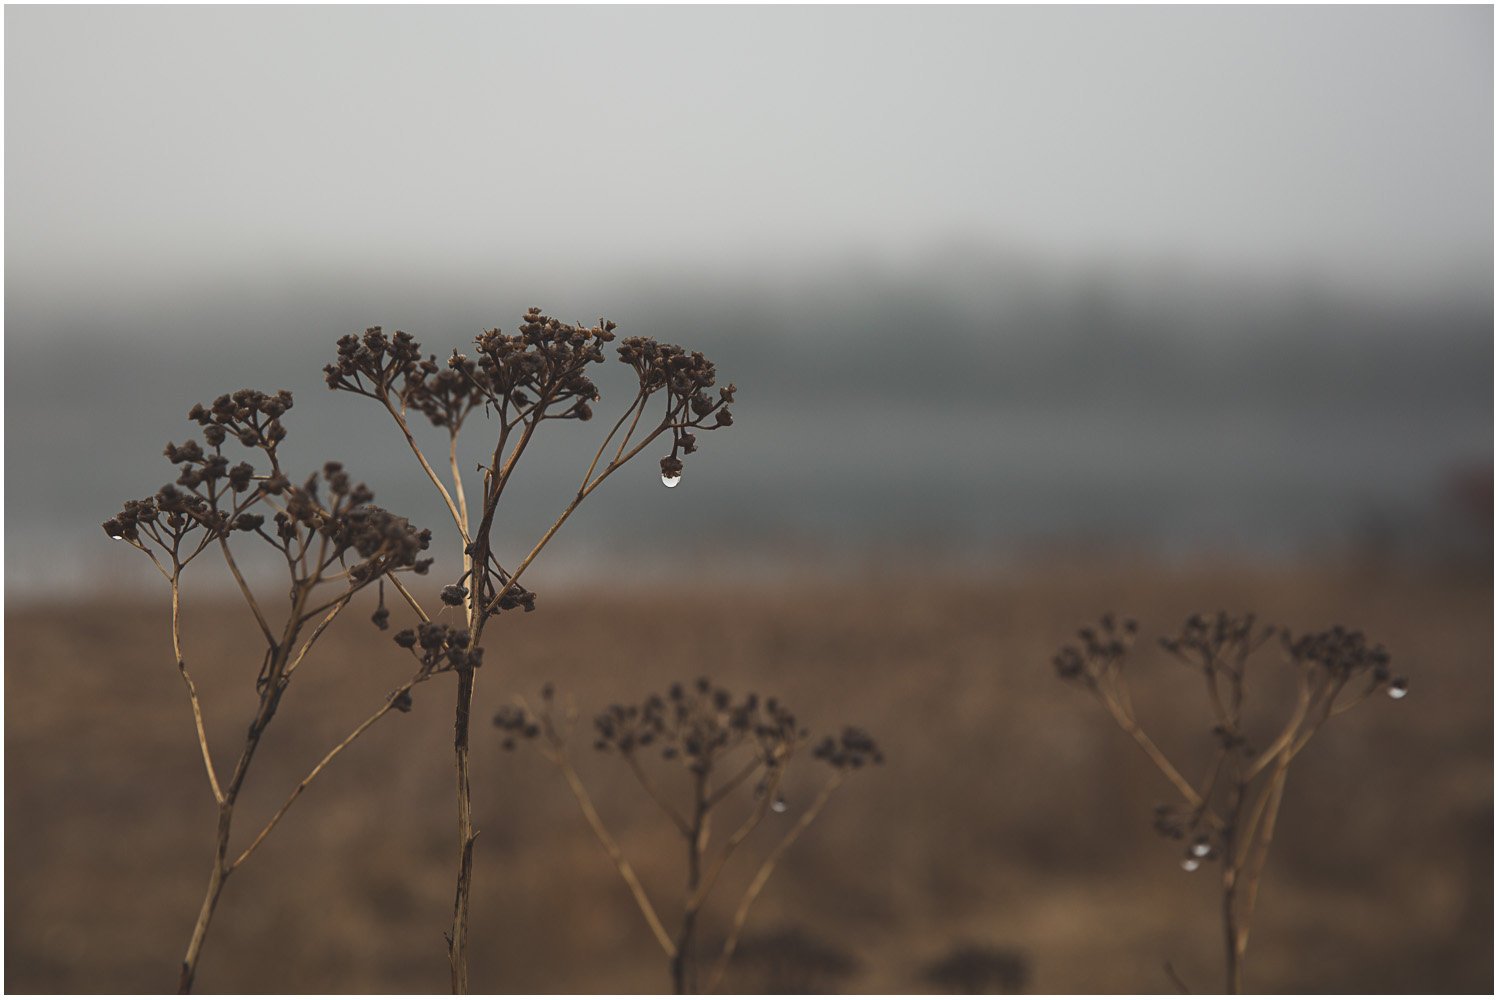
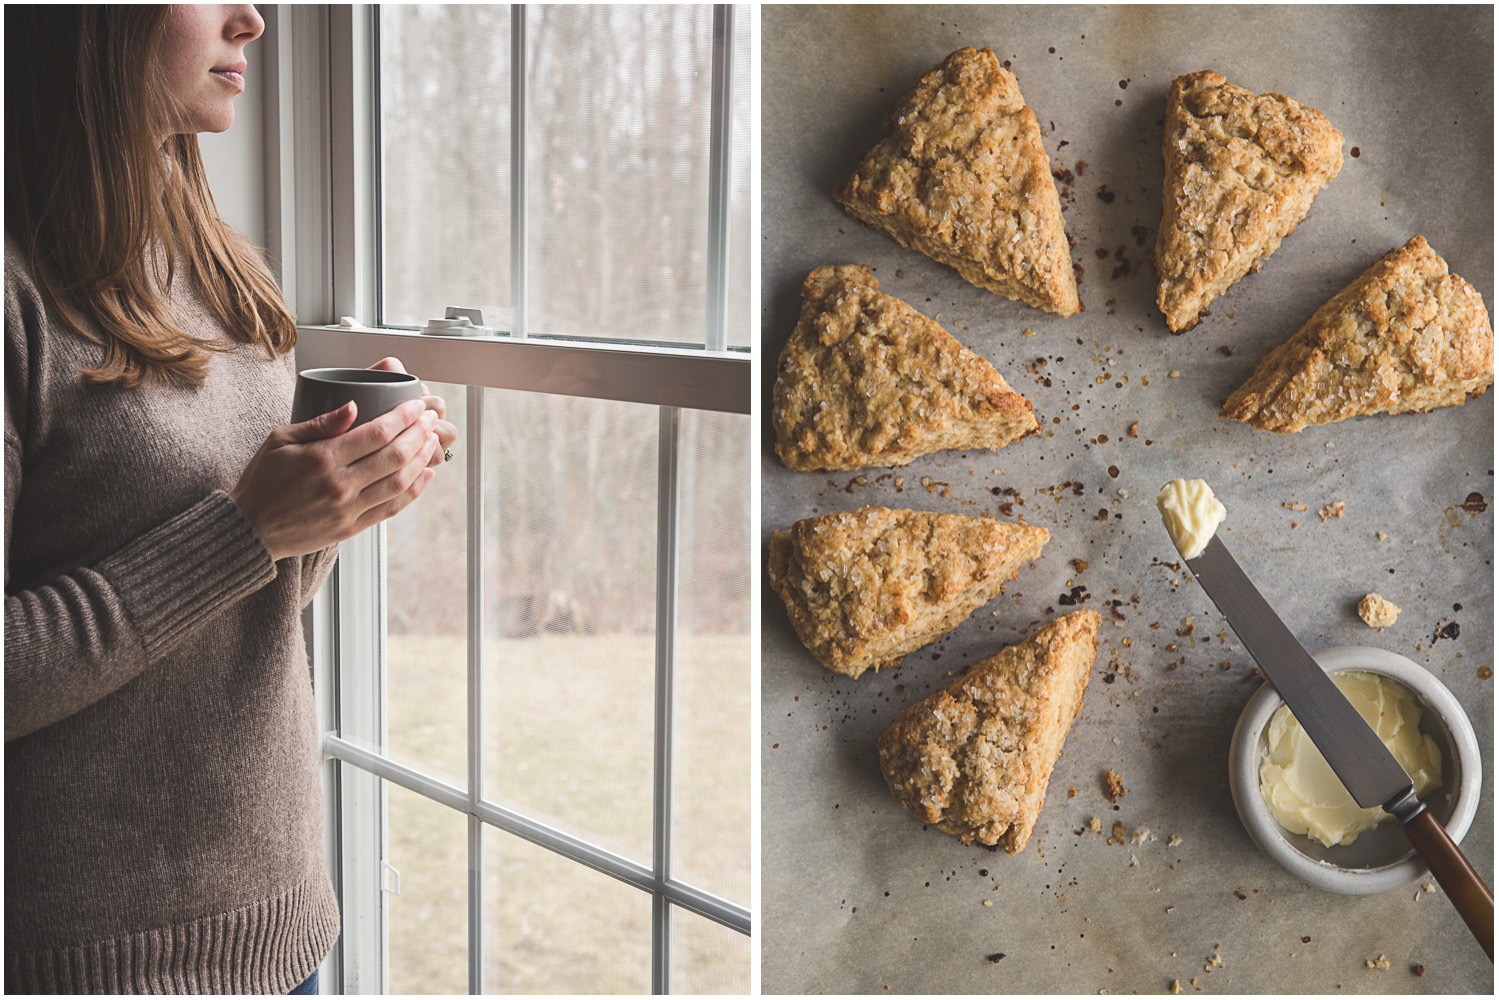
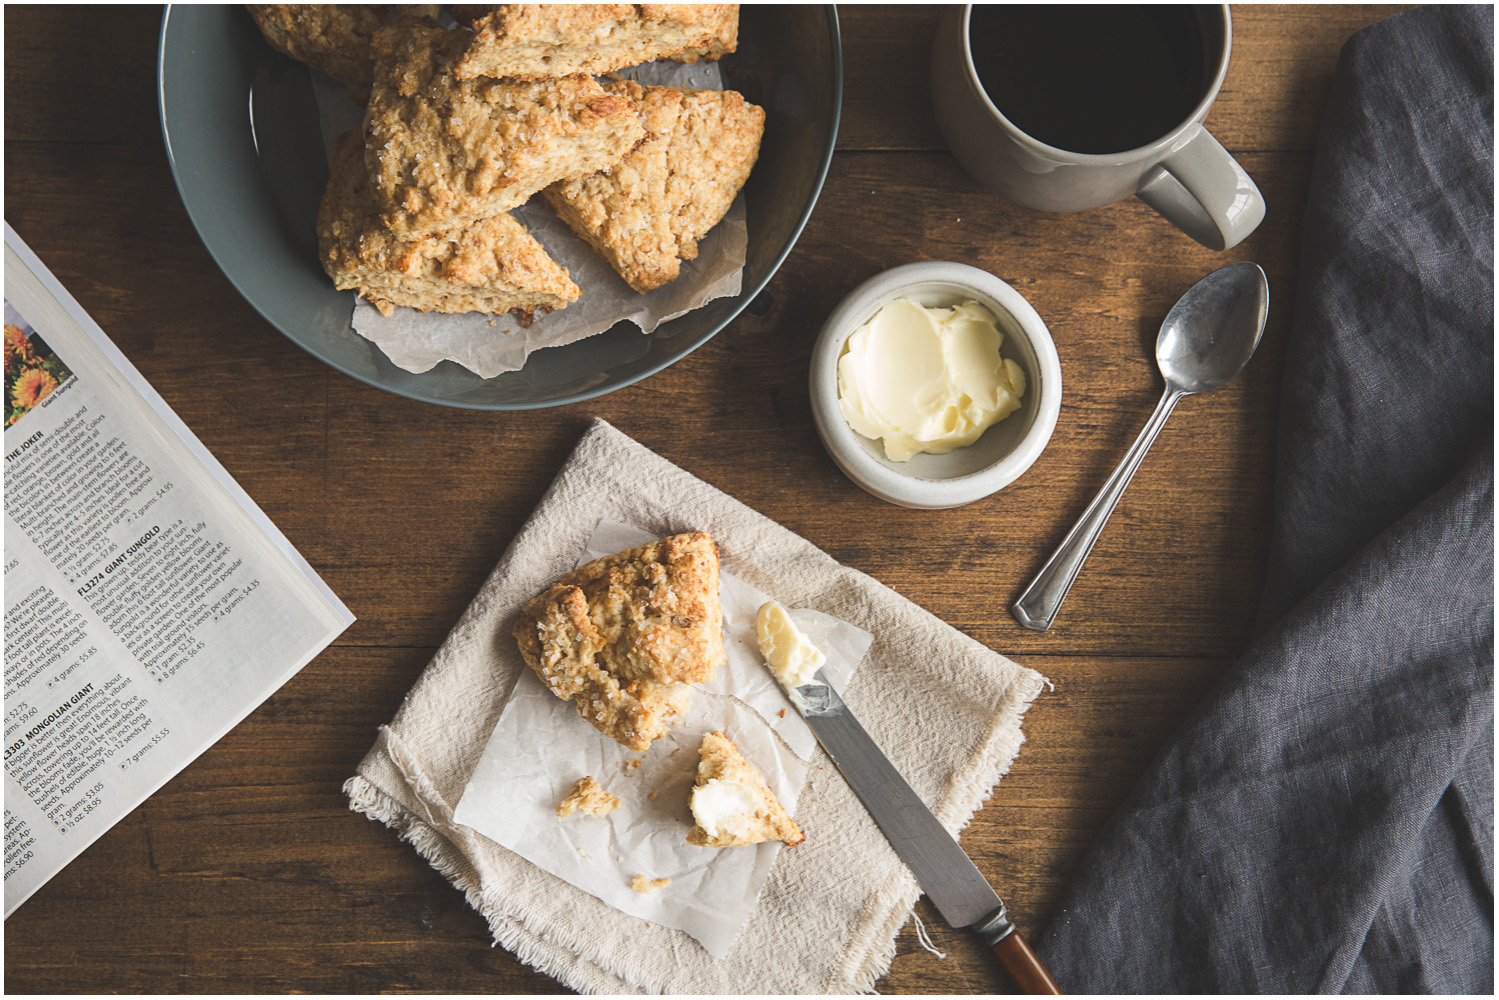
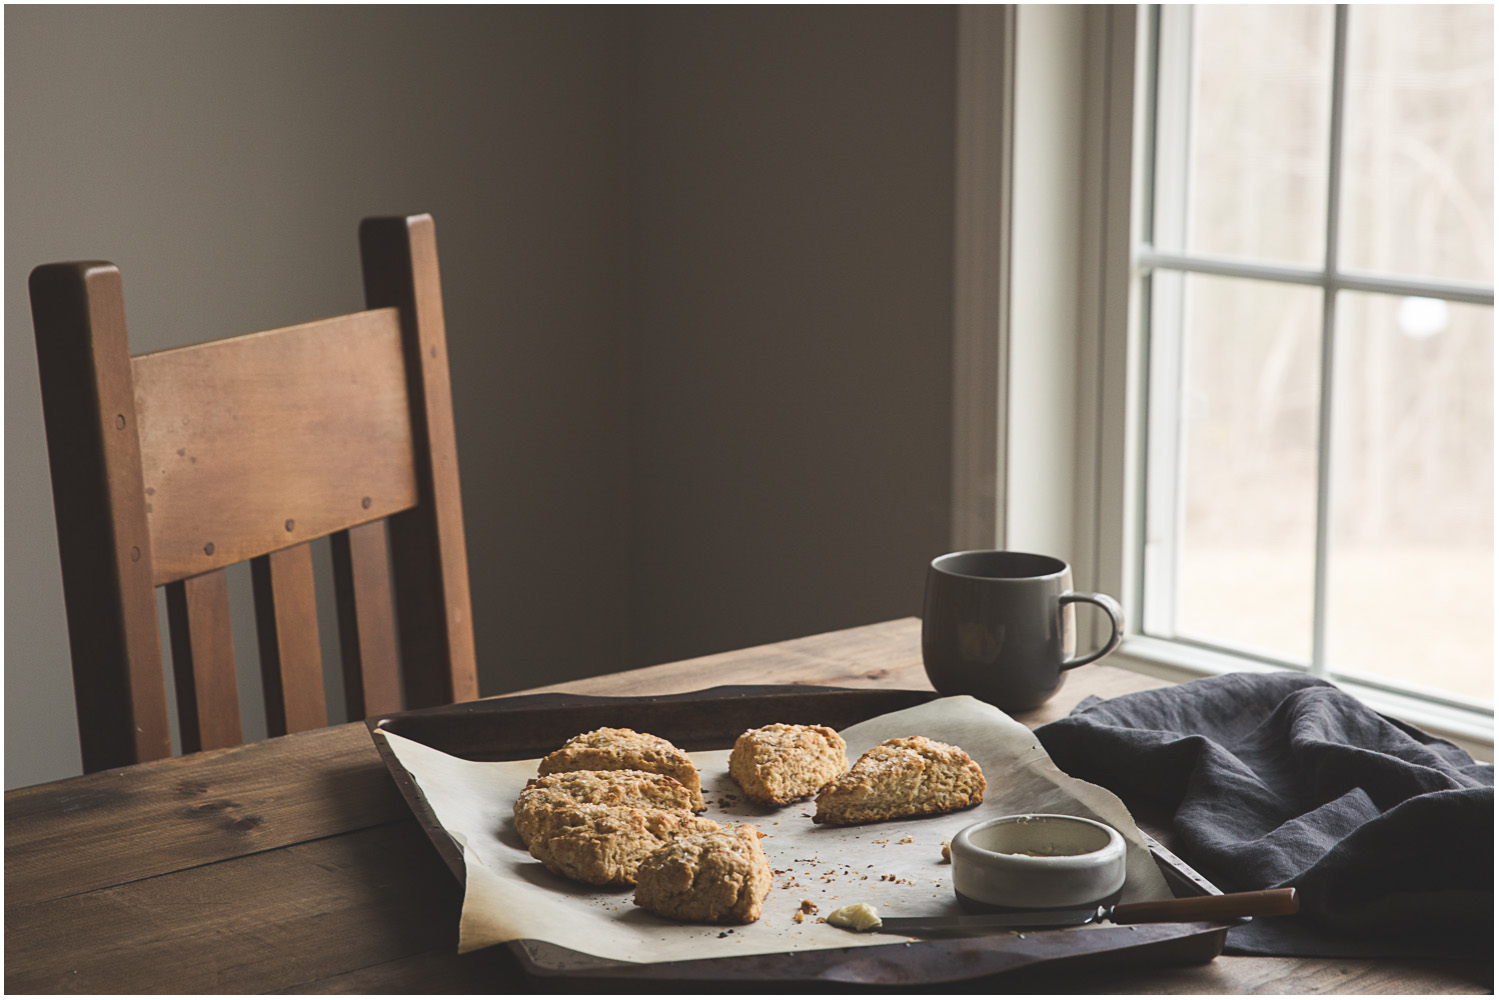
I love the occasional rainy morning, especially during transition seasons when the fog piles up in the valleys and over the river, and the clouds obscure mountains and hilltops.  They invite a certain coziness, a calmness, a quietness.  This particular morning was relatively warm, given the frigid spring we've been having here, and though the fog was thick and heavy, it was wonderful walking weather.  The rain fell more heavily later in the morning, inspiring me to stay cozy inside and bake a warming and indulgent breakfast treat - these brown sugar scones.  They come together quickly and easily, are lightly sweet with the rich flavor of dark brown sugar, and go perfectly with a cup of hot coffee on a rainy day. 
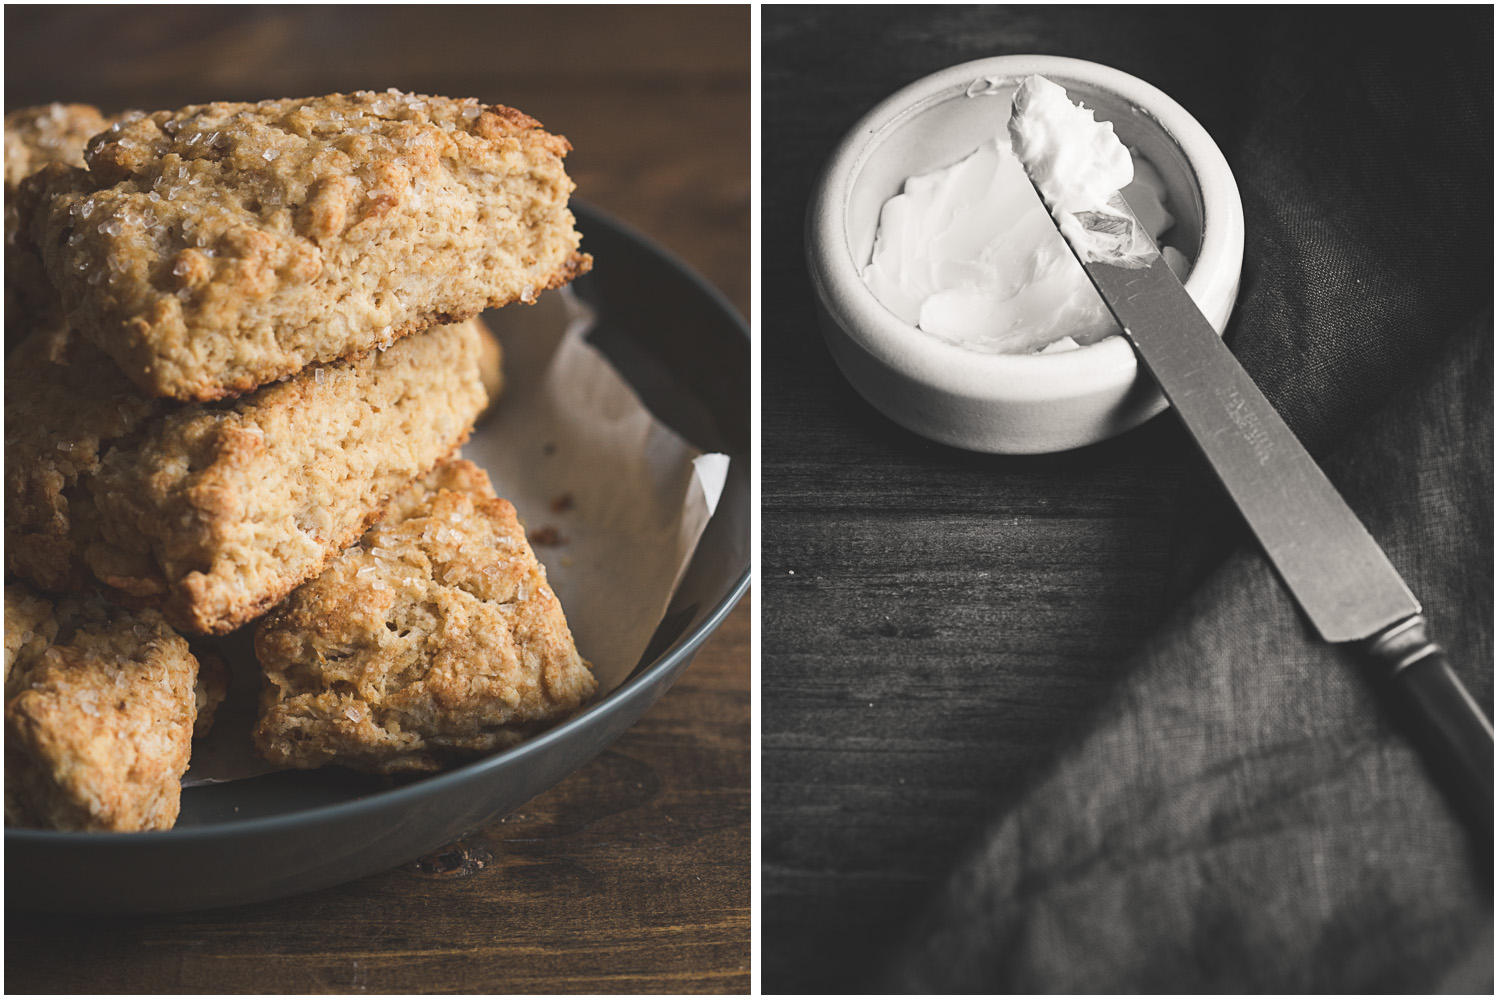
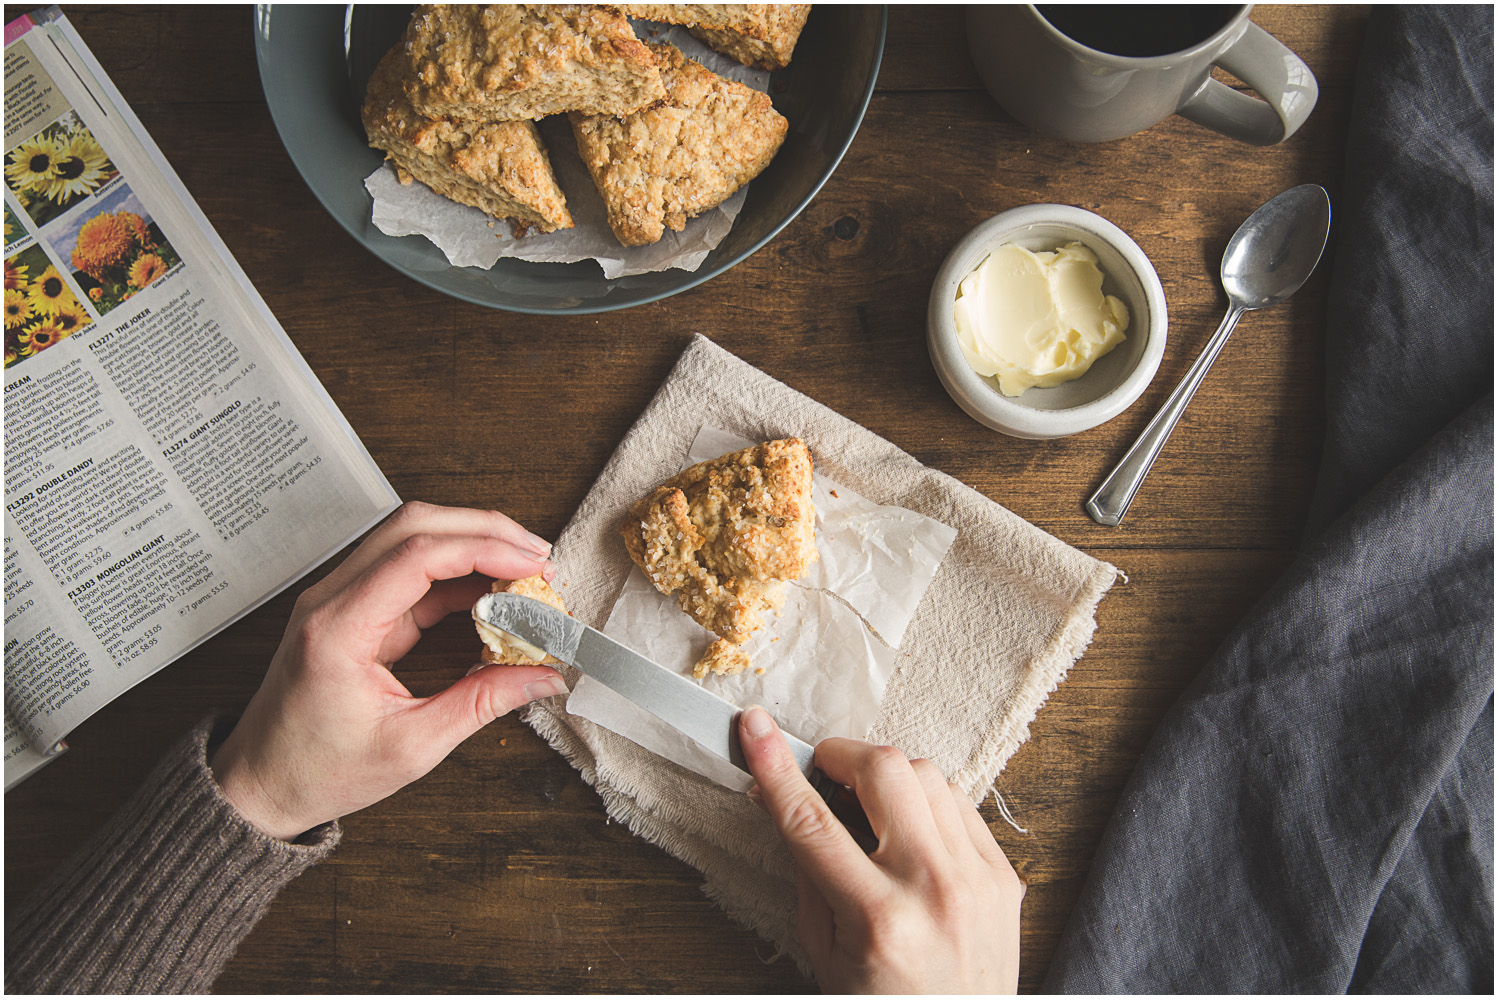
02_Brown_Sugar_Scones_Kate_Bragg.jpg
03_Brown_Sugar_Scones_Kate_Bragg.jpg
04_Brown_Sugar_Scones_Kate_Bragg.jpg
05_Brown_Sugar_Scones_Kate_Bragg.jpg
06_Brown_Sugar_Scones_Kate_Bragg.jpg
07_Brown_Sugar_Scones_Kate_Bragg.jpg
08_Brown_Sugar_Scones_Kate_Bragg.jpg
09_Brown_Sugar_Scones_Kate_Bragg.jpg
11_Brown_Sugar_Scones_Kate_Bragg.jpg
12_Brown_Sugar_Scones_Kate_Bragg.jpg

Brown Sugar Scones

Ingredients:

  • 2 c. flour
  • 1 Tbsp. baking powder
  • 1/2 tsp. salt
  • 1/4 c. dark brown sugar
  • 6 Tbsp. cold unsalted butter, cut into small cubes
  • 3/4 c. whole milk

Process

Preheat oven to 425 degrees.  Measure flour, baking powder, salt, and dark brown sugar in a medium mixing bowl.  Stir together so that the dry ingredients are well blended.  Add the cold butter and using either your fingertips or a pastry cutter (I use my pastry cutter), combine the butter with the dry ingredients until you have a mostly sandy consistency with some pea-sized lumps of butter left.  Pour the milk into the mixture and use a fork to stir together, just until all of the flour is dampened and the dough starts to come together.  Turn the dough out onto a lightly floured surface and gently press it together to form a disc about an inch thick.  Be careful not to knead this dough, as that will make it tough, and don't worry too much about getting the shape and height perfect.  Just eyeball it.  Place the disc onto a parchment-lined baking sheet and, using a knife or bench scraper, cut the disc like a pie into 8 equal slices.  Optional - lightly brush the tops with milk and sprinkle with course sugar.  Bake for approximately 15 minutes, until golden brown but not burnt on the bottoms.  Best eaten as soon as they are cool enough to touch, but will keep in an airtight container for a day or two. 

Enjoy! - KB

In Breakfast Tags Baking, Brown Sugar Scones, Scones, Rainy day
4 Comments

Classic Chocolate Chip Cookies

March 4, 2016 Kate Bragg
Classic Chocolate Chip Cookies

Classic Chocolate Chip Cookies

Classic Chocolate Chip Cookies - Every home baker needs a good classic chocolate chip cookie recipe in her repertoire.  It has to be the kind of recipe that you can make on any given weekday afternoon, whether for the family, the whole soccer team, or just for yourself.  For me, the classic cookie I crave is soft in the middle, crispy on the edges, full of chocolate, and flavorful through and through.   

Chocolate Chip Cookie Dough, chopped semi-sweet chocolate

Chocolate Chip Cookie Dough, chopped semi-sweet chocolate

I've been perfecting my recipe for as long as I have been baking, which is a long time.  I have tried countless recipes, tweaking elements here and there to get the result I was after.  My current go-to recipe is a combination of several of my favorites including these, from Jacques Torres found on Martha Stewart, these from Whipperberry, and these from the New York Times.  The keys to this recipe are to use both semisweet and milk chocolate, so that you get a bit of caramel undertone in the cookie, add at least two teaspoons of good vanilla, use a full teaspoon of salt, use a little cornstarch if you aren't going to eat them immediately after baking, make them large for best texture, and, most importantly, let the dough rest in the fridge for a minimum of 24 hours before baking.  If you can't wait 24, try to wait for at least 3.  This lets the flour fully absorb the fat in the butter and gives the flavors a chance to come together and ripen. 

Though I like to make these cookies big, they work well in a small size if you need to feed a crowd, or just don't want to make large cookies. 

Ingredients:

  • 2 1/2 sticks of unsalted butter, softened to room temperature
  • 1 c. sugar
  • 1 1/4 c. dark brown sugar
  • 2 eggs
  • 2 tsp. vanilla extract
  • 3 1/2 c. all-purpose flour
  • 1 1/4 tsp. baking soda
  • 1 1/2 tsp. baking powder
  • 2 tsp. cornstarch (optional)
  • 1 tsp. salt
  • 2+ oz. chopped milk chocolate or milk chocolate chips (use as much as you like)
  • 8+ oz chopped semisweet chocolate or chocolate chips (use as much as you like)

Directions:

Cream together softened (not melted) butter and sugars.  Add eggs, one at a time, beat to incorporate.  Add vanilla and beat until well-combined and fluffy.  Measure all dry ingredients, except chocolate, and add to the bowl.  Mix slowly until thoroughly combined, but don't over mix.  Add milk and dark chocolate to the dough and mix until evenly distributed.  Store dough, tightly sealed in plastic or parchment, in refrigerator for at least 24 hours.  This dough gets better with age, so the longer the better.  It will keep for up to a week, or more, in the fridge. 

When ready to bake, heat oven to 350⁰ and if you have a convection option, I recommend using it. 

These cookies have the best texture if they are made large, the size of a large cookie scoop or ice cream scoop, but small cookies work well too.  I use a scoop to portion the dough so I have similarly-sized cookies.  You can also roll the dough into a log before placing in the refrigerator for slice and bake ease.  Place balls of cookie dough (roll them slightly if they are not shaped well) onto ungreased cookie sheet.  Large cookies will bake for 13-14 minutes, small for 9-10.  They should be turning golden brown on the edges but still very soft, under-baked, in the centers.  The tops should be browning and set, not raw, but still soft.  The cookies will continue to bake and set for a few minutes when they are out of the oven, so it is best to pull them out while under-baked and a bit puffy or they will turn hard and lose their chewy center.  Leave them to cool on their pan for about 5 minutes before placing on a cooling rack.

These cookies are best eaten fresh but will keep in an airtight container for two to three days.  The cornstarch in the dough will help them to maintain their soft, chewy interior if you don’t plan to eat them right away.  I like to make this dough and keep it in the refrigerator to have on hand so I can bake up a few cookies at a time.  You can also portion out the dough and freeze it so you can take cookie dough balls out of the freezer and bake them up at any time. 

Enjoy! - Kate


In Cookies Tags Chocolate chip cookies, Baking
Comment

Don't miss a thing!

Sign up to get access to my FREE resource library and be the first to know about any goings-on around here.

Completing this form will add you to my email list. We respect your privacy and you may unsubscribe at any time.

Thank you! I'm so glad to have you here! 

©Kate Bragg 2024

Privacy Policy and Terms of Use

Powered by Squarespace